
However, the excitement of building your website for the first time is somewhat overshadowed by anxiety. This complete guide walks you through every step, whether creating a personal project, developing your business website, or learning how to make a website from scratch. This step-by-step tutorial will teach you how to make a website from scratch and publish it like a pro.
Let’s dive in!

Step 1: Website Planning (Build a Foundation)
What Is Your Website For?
1. Personal Portfolio: Best for freelancers, artists, and professionals who would like to:
- Highlight talent, previous work experience, or accomplishments.
- Establish an online presence that can help you get clients or employers.
- For inspiration, look at John Doe’sPortfolio
2. Business Website: Ideal for a smaller or larger business with the goal of:
- Showcase Products, Services, or Customer Reviews
- Allow the sales of services & products online, whether an appointment or a service request.
- For example, check out Shopify’s Business Website Tips to see how businesses effectively use websites.
3. Blog or Informational site: Great for anyone interested in doing any of the following:
- Providing helpful knowledge, insights, or personal experiences.
- Getting an audience and may be earning money with advertisements or affiliates.
- For instance, check out this travel blog example by Nomadic Matt.
Create a Website Blueprint ( How to make a website)
A website blueprint allows you to organize your information and plan the structure of your website with the primary goal of usability and design. If you’ve ever wondered how to make a website, this is what you need to consider:

1.Key Pages on Majority of Websites:
- Home: Your primary landing page serves as an introduction to your website.
- About: A section to explain your mission, your story, and what makes you special
- Services/Portfolio: Display work examples or show the services you offer.
- Blog: Post articles, updates, or tutorials (optional for portfolios or businesses).
- Contact: A contact form, email address, phone number, and perhaps a map
2.Additional Pages (Optional):
- Frequently Asked Questions(FAQ): Resolved the most common questions to save customer support time.
- Testimonials: Showcase Reviews from Clients or a Case Study
- Shop/Store: In the case of product sales, make a store type with categories.
- Downloadables: Offer your followers guides, templates, or tools.
Planning Pro Tip: Use Canva or Figma to determine how you will lay out the site to get a feel for how many pages there are and the flow of information.Do not overcrowd it; rely on primary navigation.Use many calls to action (e.g., contact us, shop now).
Step 2: How to Select a Domain & Hosting
Imagine This: You are venturing into blogging to express your enthusiasm for living a healthy life. You get excited and think of a name for it: MyHealthyLifestyleTipsAndTricks.com. You will register it, but then remember—too long, too forgettable, and not unique. After some brainstorming again, you go for FitlifeTips.com. This is short, catchy, and relevant — just perfect. You log in, and the next thing you know, your website is up and registered somewhere it can be easily found.
Your domain and hosting are the building blocks of your site—they’re the equivalent of finding the correct address and home for your web presence. A good domain name represents your brand, makes your site easy to recall, and helps visitors locate you. Combine that with reliable hosting, and your website will load quickly, remain secure, and cope with traffic without breaking a sweat.
In this step, you will learn how to pick the perfect domain name and choose a hosting provider that meets your needs. Whether you’re launching a personal blog or a business website, the right hosting plan helps keep your site online, fast, and secure.
Let’s jump in and set you up for success in How to make a website!
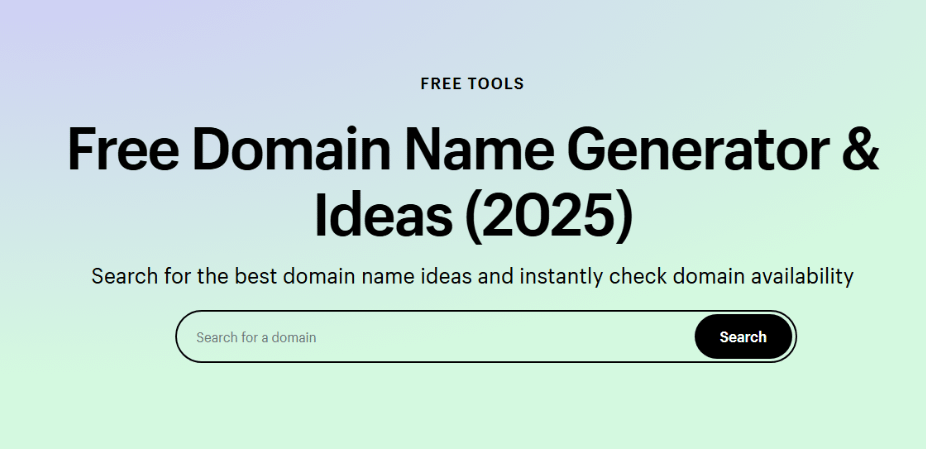
This is how you pick your domain name just for you
Names that are as simple as FitLifeTips 🔹Keep it Short And Catchy You can remember and type more easily with.com domains.
- Stay Relevant: Align with your website (TravelProBlog.com for travel).
- Keywords: Think about the words your audience might type into a search bar — for example, “dress,” “fit,” “travel,” etc.
- Stick to.com: With many people trusting it around the globe and its suitability for any website, you can go right with https://joturldot(.)com«
- No Numbers and Hyphens :These Make the domain challenging and more accessible to remember and type.
- Try A Domain Generator: If you are running out of ideas, tools like LeanDomainSearch or NameMesh can help you.
- Be Quick: Register with someone if you see a good name.
Well, your domain is your first step to building up an online identity of yours—so your choice matters! Use these tools to search the domains: Namecheap , GoDaddy
Best Hosting Providers
1. Hostinger
Why Choose Hostinger?
- Low-Cost Plans: From $1.99/month.
- Free Domain & SSL: Included with most plans.
- Blazing Fast: 99.9% Uptime With LiteSpeed Servers
- Easy to use: One-click WordPress install with an intuitive control panel.
- Best Suited For: Beginners and Cheapest Hosting.
2. Bluehost
Why Choose Bluehost?
- WordPress Official Partner: Best for WordPress Users
- Free Domain for 1 Year
- 24/7 Support: Active even for novices.
- Best For: Reliable hosting for WordPress novices.
3. SiteGround
Why Choose SiteGround?
- Speedy & Secure: All security features + Daily backups
- Fantastic Customer Support: It is known for its powerful customer service.
- Ideal for Bloggers and small business sites.
4. A2 Hosting
Why Choose A2 Hosting?
- Turbo servers 20x faster Load: Blazing Speed
- Migration from other hosts for free: Easy migration.
- Ideal For: Websites prioritizing speed.
Steps to Get Started
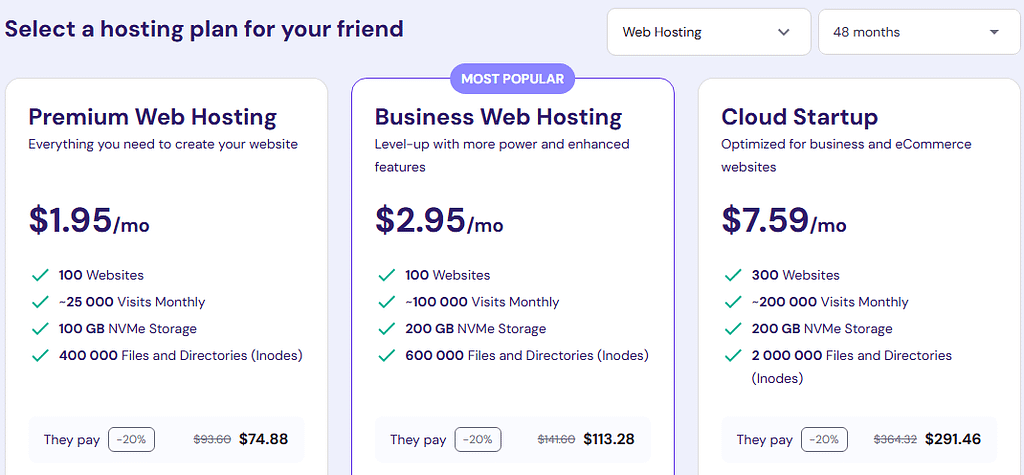
1. Choose a Hosting Plan:
- Use a hostinger, or host of your choice, to choose an inexpensive plan. Hostinger offers up to 20% off on hosting plans, making it the perfect time to start. With fast servers, a free domain, and SSL included, Hostinger combines affordability and performance to help your website succeed.
2. Check Domain Availability:
- MANY hosts include free domain registration and hosting.
3. Set Up Hosting:
- You go to the website, install WordPress, and start building your site.
Start today with a reliable host and give your website the best chance at success!
Step 3: Use a website builder or CMS
First things first, you will need to have a platform where you can create your website. The most common two types are website builders and content management systems (CMS) like WordPress. Here’s what you need to know:
Top Website Builders for Beginners
1.Wix
- Designing with no code has never been easier than with drag-and-drop simplicity.
- Purpose-built templates for different industries.
- Best Suited For Personal Websites And Small Business 👉Visit: Wix Website Builder
2.Squarespace
- Stylish, professional templates are ideal for creative portfolios or business sites.
- Integrated features for blog, e-commerce, and search engine optimization
- Perfect for high-content visual websites 👉Read: Squarespace Features
3.Weebly
- Quick to set up and integrate with, ideal for small businesses or portfolios.
- Free Plan & Easy Customization
- Provides online stores with e-commerce capabilities. 👉Discover: Weebly’s Tools
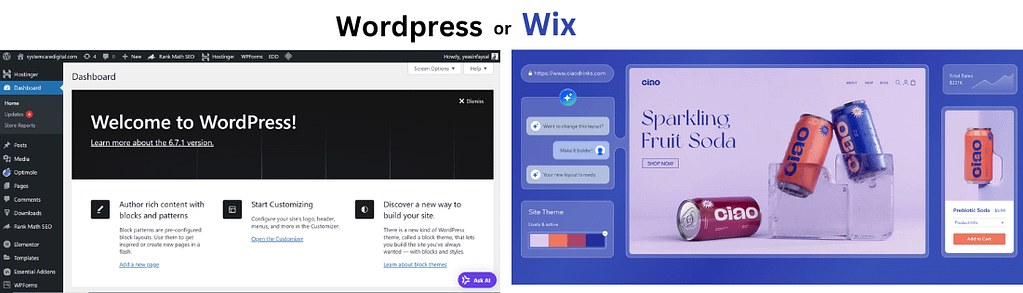
Why Choose WordPress?
WordPress is the most widely used CMS worldwide, powering over 40% of all websites. Here’s why it’s a top choice:
- Flexible : thousands of free & premium themes, plugins, and Software integrations are available.
- SEO-Friendly : includes permalinks, meta tags, and SEO plugins like Yoast SEO.
- Affordable : It is free to use — All you need to pay for is hosting and optional premium themes/plugins.
- Scalable: For tiny blogs to massive business websites 👉Learn More: WordPress.org Overview
Pro Tip: If you want simple, pick the website builders. When it comes to flexibility when building a site that will grow over time, nothing beats WordPress!
Step 4: Develop Your Website (With AI Assistance)
Thanks to AI tools & design resources, designing a website has never been easier. Here are the main concepts and resources that will guide you in building a polished, aesthetic, and usable website.
1. Select a Theme and Layout
Use AI Website Builders:
- Wix ADI: Creates a website automatically based on your answers to some basic questions.
- 10Web AI Builder: Drag-and-drop builder that uses AI to auto-generate responsive layouts for WordPress sites.
To do it manually, select themes:
- Free Themes: Astra, Neve.
- Premium Themes: Divi, GeneratePress Premium.
2. Add High-Quality Visuals
Use AI Visual Tools:
- DALL-E — Create personalized images suited for your brand or content.
- Remove. Bg: Remove Image Background in 1 Click
Use stock photo platforms:
- Free Options: Unsplash, Pexels.
- Stock photo options: Adobe stock and shutter stock.
Designing visuals with Canva (design recommendations powered by AI)
3. Structure Your Website
A well-structured website enhances user experience and improves SEO. Follow these steps:
Essential Pages:
- Homepage: Create a killer heading and CTA
- About Page: Craft a story informing people about your values and mission.
- Portfolio/Services Page: Present your projects or services with optimized images.
- Contact Page: Form, Email, Phone and Social links
Create eye-catching headlines, FAQs, and page descriptions with ChatGPT in the content creation process.
4. Brand Your Website
Design differentiating logos and branding graphics
- Create your logo using tools like Looka and Hatchful that match your style
Creating complementary color schemes and pairing fonts:
- Use tools like Coolors and Fontjoy to make your branding quick & easy.
4. Test and Optimize
Make use of AI to test and scale performance:
- Hotjar : Heatmaps and session recording, see how users interact
- GTmetrix : Load speeds optimization and monitor your website viewability across all devices.
Pro Tips
- Keep It Simple: Save time by going with AI-based tools for layout and visuals.
- Emphasis on the look: Use quality and optimized photos or imagery with a clean structure.
- Try Everything: Test on desktop and mobile for performance and usability.
With these tools and ideas, you can build an eye-catching, skillful website with a great user experience!
Step 5: Fill Your Website with Content
Content is the soul of your website, and adding anything to it will always be a primary task. It ensures that your site is functional, helpful to the users, and, most importantly, able to rank on Google. Here is an efficient way to do it:-
1.Plan Your Content
Set Your Intent: Consider what you want to do with your content. Is it aimed at teaching something, selling something, or engaging people?
Keyword Research Tools:
- Google Keyword Planner (https://ads.google.com/home/tools/keyword-planner/)
- AnswerThePublic (https://answerthepublic.com)
- Ubersuggest – https://neilpatel.com/ubersuggest/
- Semrush– https://www.semrush.com/
- Ahrefs – https://ahrefs.com/
2.Create High-Quality Content
Writing Tools:
- Google Docs (https://docs.google.com) — Write and co-edit documents.
- Grammarly (https://www.grammarly.com): A tool that helps enhance the content’s grammar and readability.
- Hemingway App (https://hemingwayapp.com) The Hemingway app is to write a blog. You will use this app to make your text clear.
Content Formats: Blogs, product pages, services page, and FAQ.
3.Add Visuals and Media
Free Tools for Media:
- Canva (https://www.canva.com) — graphics and banners.
- Pexels (https://www.pexels.com), Unsplash (https://unsplash.com): Free Stock Images and Videos
- TinyPNG (https://tinypng.com) — Compress your images for quick load time
4.Optimize for SEO
Free SEO Tools:
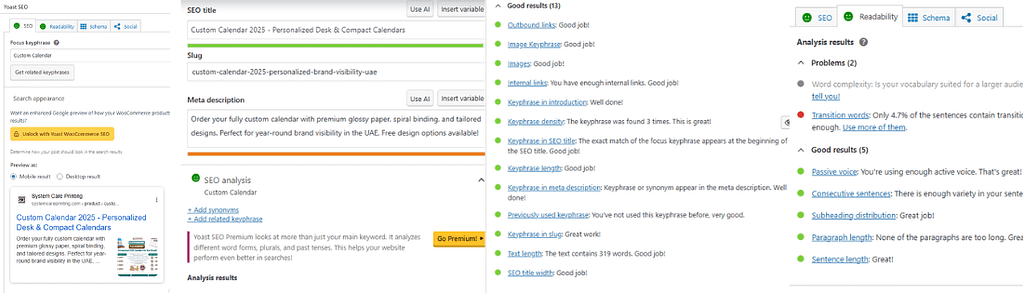
- Yoast SEO Plugin: https://yoast.com/wordpress/plugins/seo/
- Google Search Console (https://search.google.com/search-console) —SEO performance tracking
Incorporate keywords in title tags, headings, meta description tags, and alt text for images.
5.Publish and Update Content
Use a CMS like:
- WordPress (https://wordpress.org)
- Wix (https://wix.com)
Update content at periodic intervals to ensure it remains current.
Now that you know how Yoast can help you, creating great content that drives traffic and helps your website reach its goals is possible with the right tools and a solid strategy.
Step 6: Optimize Your Website for SEO
Doing SEO for your website leads to higher visibility on search engines and brings traffic without any acquisition cost. Here’s how to do it:
1.Conduct Keyword Research
- Find relevant keywords using such tools as Google Keyword Planner (https://ads.google.com/home/tools/keyword-planner/) and Ubersuggest (https://neilpatel.com/ubersuggest/)
2.Optimize On-Page Elements
Add keywords to:
- Titles and meta descriptions.
- Headings (H1, H2) , and the content of the body
- Image file names and alt text.
- On-page optimization can be done using free tools such as Yoast SEO (https://yoast.com/wordpress/plugins/seo/).
3.Improve Website Speed
- Use TinyPNG to compress images (https://tinypng.com)
- PageSpeed Insights (https://pagespeed.web.dev) is Used to check and optimize the speed of your site.
4.Ensure Mobile Responsiveness
- Google Mobile-Friendly Test — https://search.google.com/test/mobile-friendly, a tool you can use to assess the mobile-friendliness of your site.
5.Create Internal and External Links
- To gain credibility, provide links to appropriate pages from your site and models from high-authority external resources.
Optimizing your website for SEO will help you rank higher in search engines and provide a better user experience.
Step 7: Deploy and Manage Your Site
Website Launch Checklist
- Test all links and forms.
- Fast load times (GTmetrix, etc.)
- Option 1: Use Google Analytics for Traffic Tracking
Once everything is in place, click “Publish” and enjoy your new website!
Maintain Your Website
Once you have constructed and optimized your entire website, you can go live with it. Here’s how:
1.Final Pre-Launch Checks
- Check for Broken Links using Screaming Frog SEO Spider (https://www.screamingfrog.co.uk/seo-spider/)
- Check mobile responsiveness and cross-browser compatibility using BrowserStack(https://www.browserstack.com)
2.Launch Your Website
3.Link your domain and hosting.
The launch will be promoted through social media, email marketing (Mailchimp: https://mailchimp.com), and a press release.
4.Monitor Performance
- Track Traffic and User Behavior Google Analytics (https://analytics.google.com )
- Verify measure SEO metrics using Google Search Console (https:// search.google.com/ search-console )
5.Maintain and Update Regularly
- Frequent Updates – Update content to stay trending.
- Utilize UpdraftPlus (https://updraftplus.com) for periodic backups
- Use Sucuri (https://sucuri.net) or similar to monitor security.
When you launch strategically and manage your site (they go hand in hand), it will remain secure and up to date, ultimately bringing traffic for a long time.
Conclusion
It might seem daunting to learn how to make a website. In 7 simple steps, you can move from idea to launch quickly! Whether you are building a portfolio site, business site, or blog — this guide will help you with everything from choosing the right name and hosting to SEO and more.
Create your online presence today! If you are about to build your first website, these recommended tools will help you get started.
Pingback: How to Start an Online Business with the Best Digital Tools
Pingback: Top Digital Marketing Services in USA AppKod | Let's Drive